Importing Contacts
Often times, if you doing outbound marketing using Broadcasts, you will want to reach out to a specific set of leads acquired outside of Flow XO, that may or may not have previously interacted with your bot. To import (or update) contacts in Flow XO you will need to prepare a spreadsheet or CSV file with contact information. For channels that are based on telephone numbers (i.e. Twilio and WhatsApp) your spreadsheet will need at least a phone number column. For other channels that use different user identifiers, such as Telegram, Slack or Messenger, you will need the internal user ID specific to that channel, and you will only be able to contact users that have already interacted with your bot before, as only SMS and WhatsApp have a way to message users who have not already established a relationship with your bot.
In addition to the phone number (or other identifier depending on the channel), you may also import / update the following fields for each contact:
- phone number
- email address
- first name
- last name
- company name
- locale (2 character language code abbreviation)
- timezone (IANA formatted timezone string)
- country
- segments (a comma separated list of segment names that the user should be added to)
Formatting the spreadsheet
It is not necessary to match your spreadsheet to a specific set of columns with specific names. As long as your spreadsheet has at least the phone number (or internal identifier), then all other fields are optional and can be named whatever you like. You will have an opportunity to match your spreadsheets columns to the columns the import requires during the import process.
Phone Number Format
When formatting phone numbers, it is important to provide the full, international number that includes the regional number as well as the country code preceded by "+". For example, a US number should look like this "+16662322". Other standard punctuation is allowed to separate the phone number components and will be automatically removed (for example "+1(555)123-4567" will be accepted and get stored as "+15551234567")
A note on segments
Flow XO allows you to organize your user base into segments in order to target certain groups for specific communication and outreach, for example using broadcasts or trigger filters. When you import a list of users using our contact import system, there are two ways to add the imported users to certain segments.
1. You can choose one or more existing segments that will get added to every user in your import
2. You may include a list of segments on a per-user basis in a spreadsheet column. If the segment already exists, the imported contact will be added to it. Otherwise, the segment will be created. For this reason, it's important to double check the spelling of any segments you decide to include this way to make sure you aren't accidentally creating a new segment when you intend to add users to an existing one.
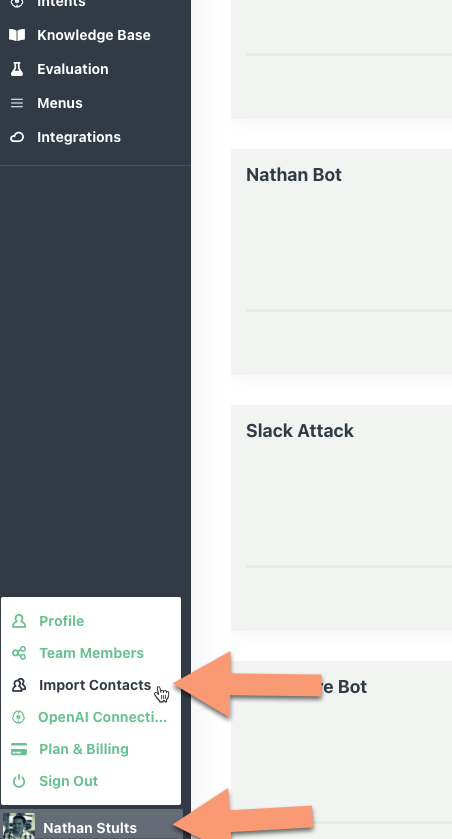
Launching the Import Process
To start the import, activate the user menu on the bottom left of the screen:
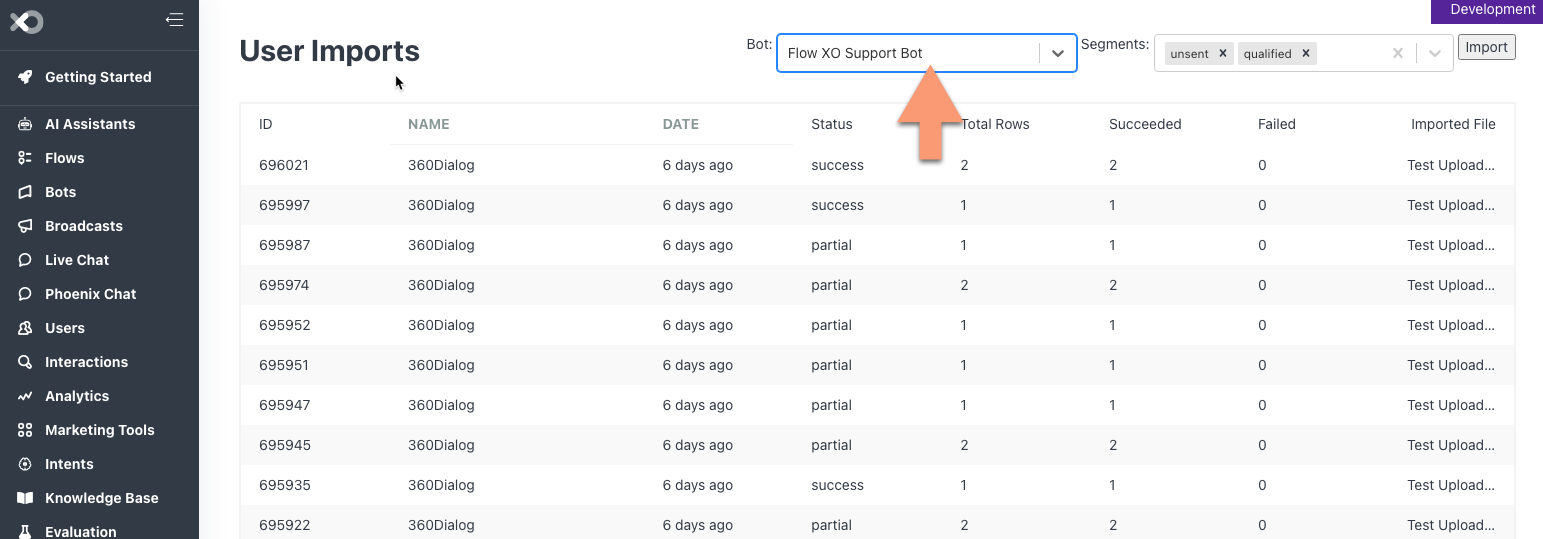
 Select a Bot
 Select a Bot
All contacts must be associated with a particular bot, or channel connection. To begin the import, you must select which bot you want to import users into.
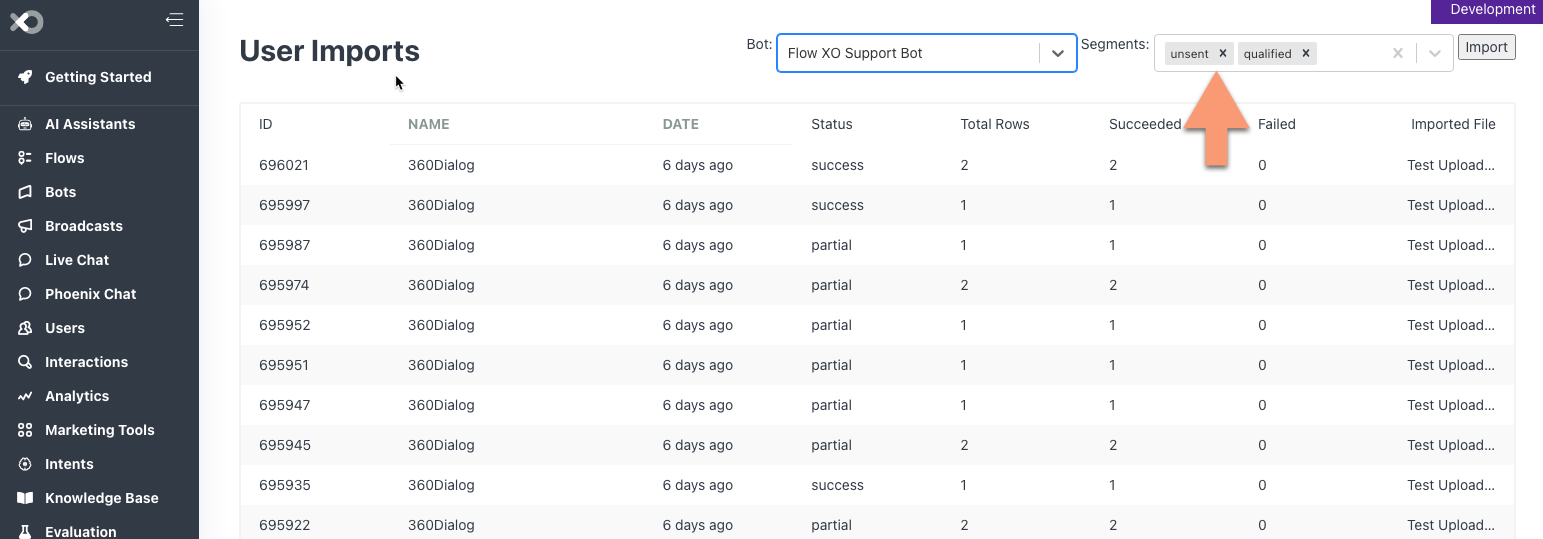
 Select one or more segments (optional)
 Select one or more segments (optional)
Usually you will want to associate a segment with users you are importing, so that you may target them with a broadcast or segment trigger to send them an outbound message. You can select one or more existing segments from the Segments list before launching the import. Note that the segment must already exist - if you need to add segments, you may do so from the "Users" tab.
 Run the Import Wizard
 Run the Import Wizard
Once you have chosen a bot and destination segment(s), click the 'Import' button on the top right of the import page. You may then select a CSV or spreadsheet to import.
 Once you choose a file, you will see a summary of the columns and data your file contains, and will be asked to choose a header row. As long as your header row is the first row in your CSV or spreadsheet, the correct row will automatically be selected for you.

Click "Next" and you will be taken to the mapping page, where you can select which columns in your spreadsheet should be applied to which fields in the import. If your headers are in english and named similar to the import columns, the import system will usually be able to guess how your spreadsheet should be mapped. But still double check it for errors and make any corrections you need to.
 Not that he only REQUIRED field will be the "Mobile Number" field (or "unique identifier" field if you are importing data to a channel other than SMS or Twilio).
Click "Next" again where you will get a final summary of the data to be imported, and have an opportunity to make any last minute corrections to the data itself before you import it.
 Once you are ready, click 'Submit' and your users will be imported and added to any segments you selected. Users that already exist in the system will be updated with any changes.
Importing Outbound Leads
One common pattern is to import lists of leads to reach out to that were acquired or purchased from a third party or another part of your organization, and then send them an SMS message or WhatsApp template in order to qualify the lead, direct them to a human or automated sales process, etc. There are two patterns that we see frequently used for this.
1. Use "Segment Added" triggers to launch an outbound flow whenever a user is added to a given segment. This method is simple (you can read about the "Added to Segment" trigger here: https://support.flowxo.com/article/332-user-sements) and will initiate the communication with the user immediately as the import is being processed.
2. Use a broadcast. In this method, you will usually have the equivalent of "unsent" and "sent" segments, and when you import users, you will add them to the "unsent" segment. Then you will have two tasks in your broadcast flow, one to remove the user from the "unsent" segment and one to add them to the "sent" segment. The "sent" segment is optional in this scenario, but may be helpful if you want to nurture leads further after the initial introductory flow is sent to them. This method is a little more complicated, but allows you to have full control over when the messages are sent out to the users.
That's it! If you have any questions or feedback, please reach out to support@flowxo.com